Many game designers are going to need to create prototype cards at some point. You have choices about how to do this.
Some people start with index cards and markers – a fine place to begin.
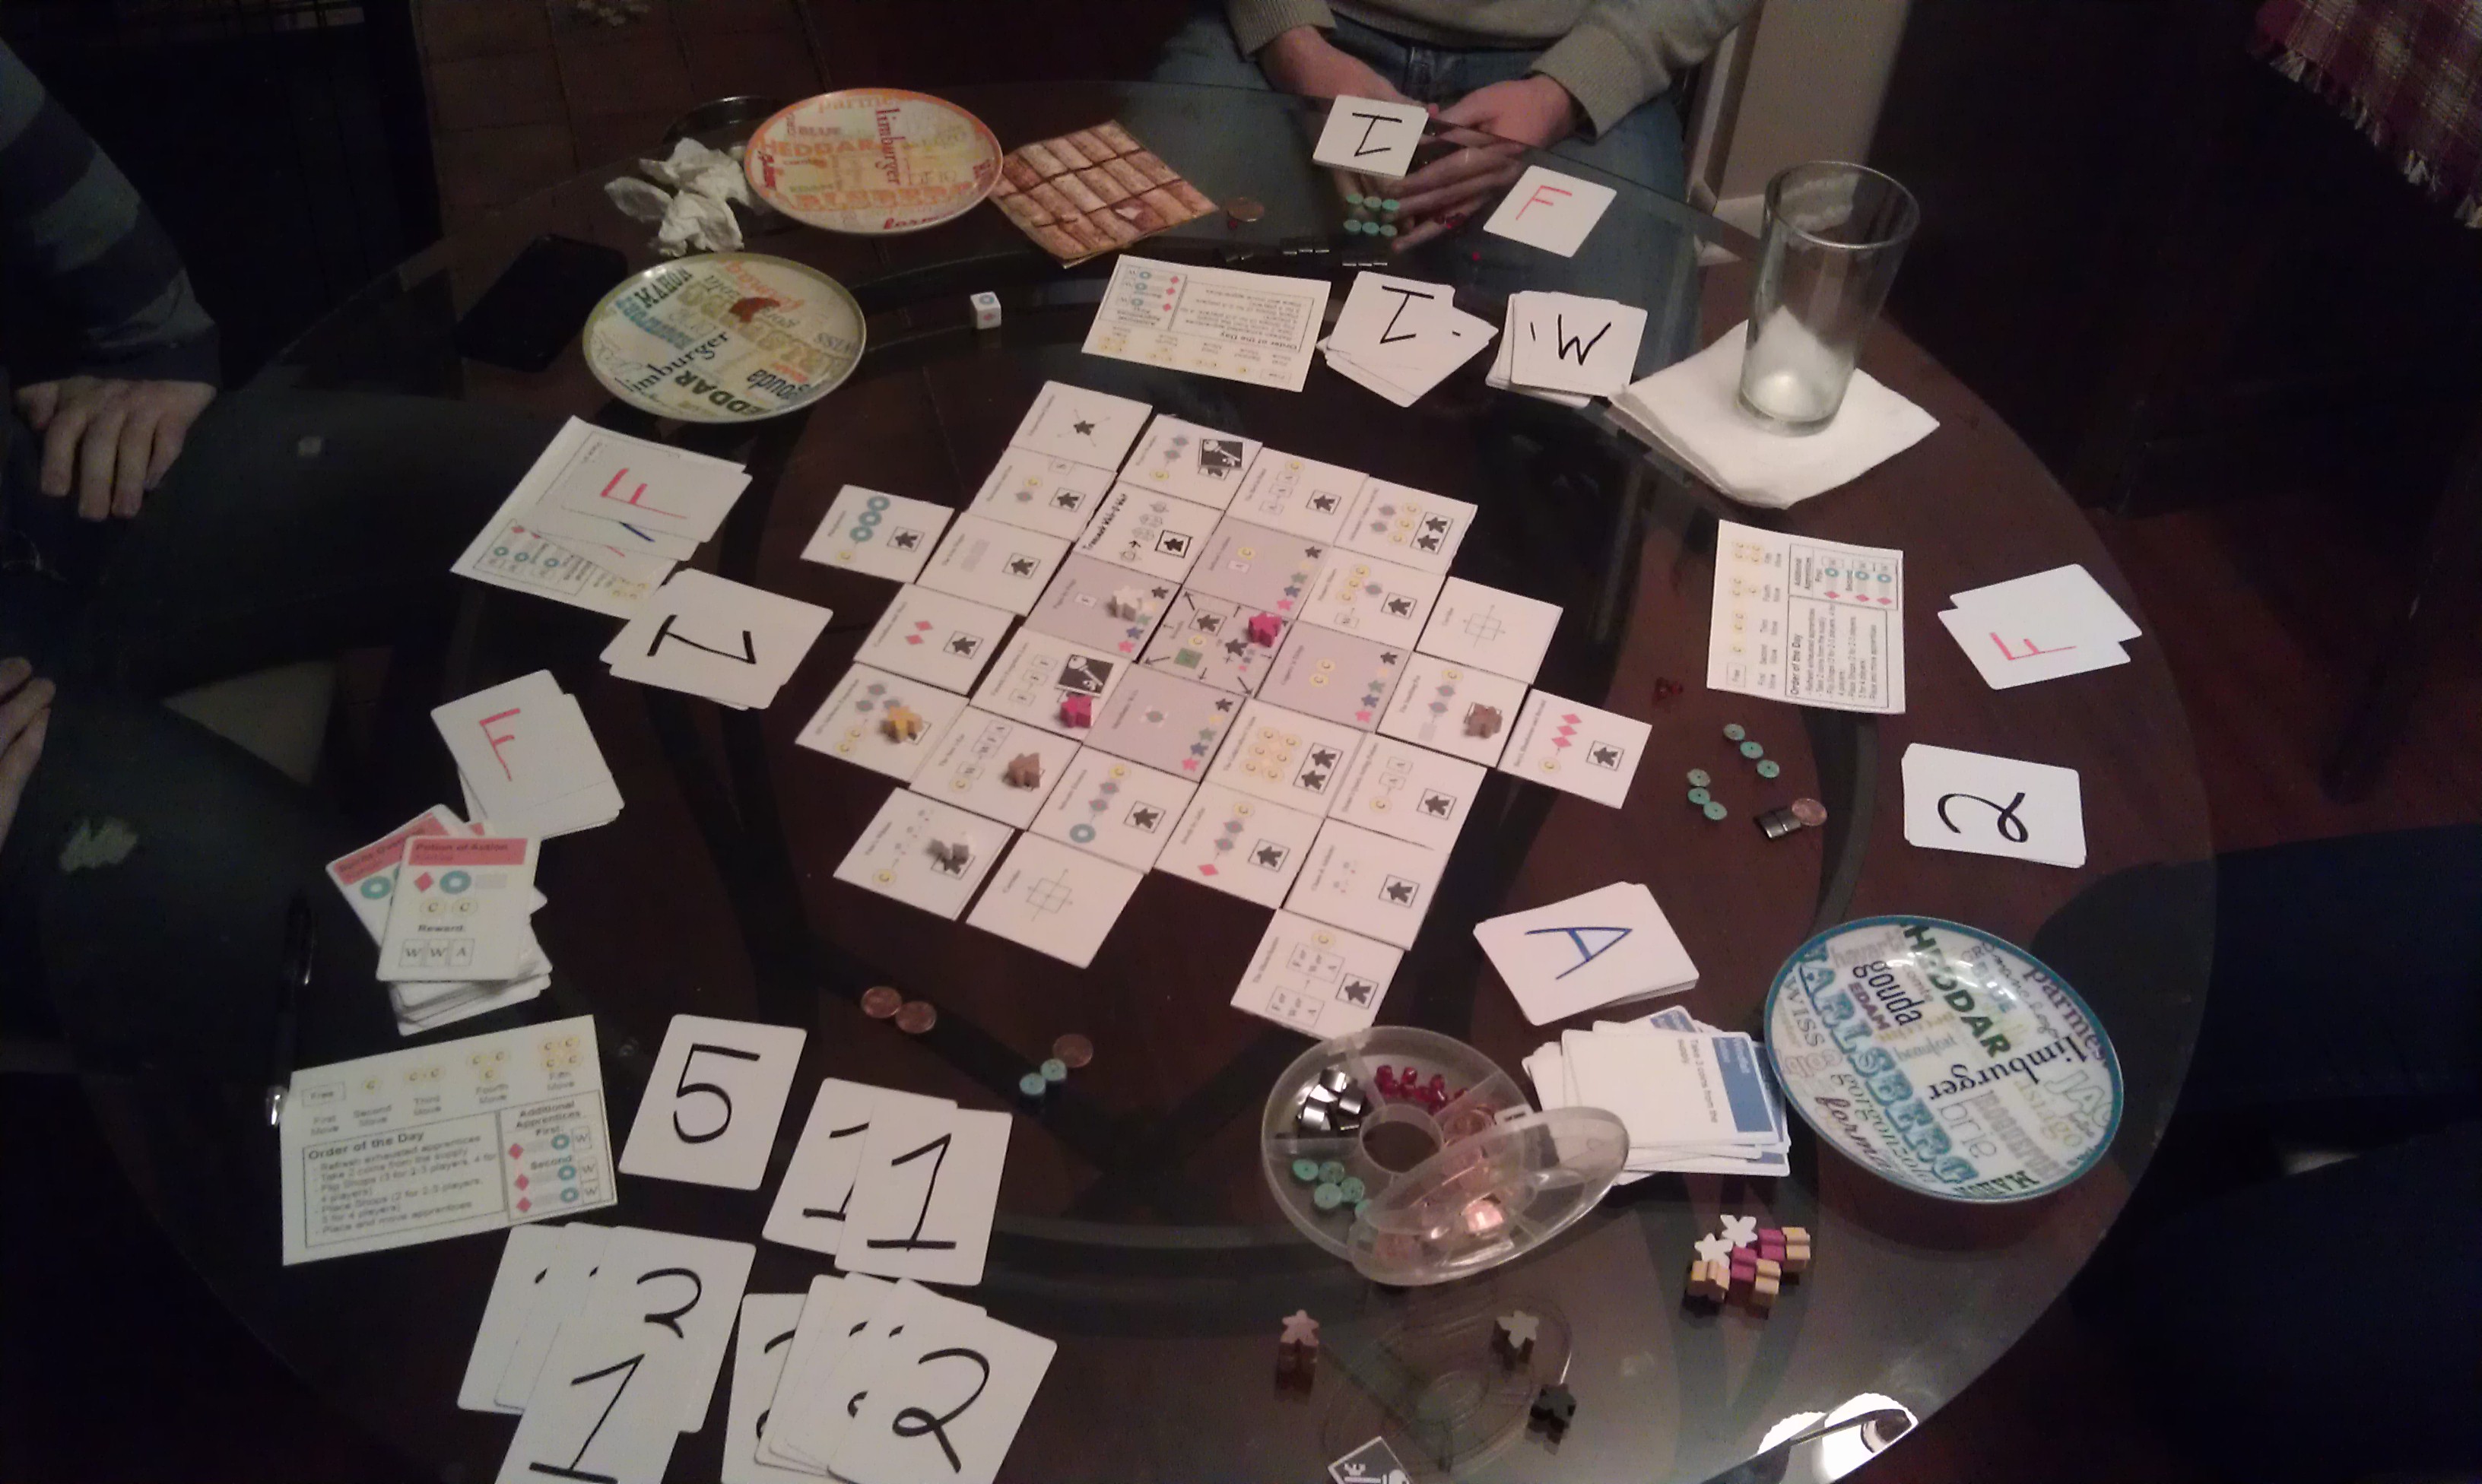
For me, I tend to start with a simple Excel template (no art) that lets me print out a page with a dozen cards, cut them up, and drop them into sleeves with Magic cards.
Paper slips printed in Excel, cut up, and dropped into sleeves with other cards (Chaos & Alchemy Substances playtest from last year)
Eventually, I get to a point where I want to make better-looking prototype cards, but not to the point where I want to order cards from The Game Crafter or anything like that. What to do?
Stickers – too expensive
For several months this year, I went with stickers. You can get Avery name badge labels that are just the right size to stick on a poker-size card (2.5″ by 3.5″ – the size of a Magic: The Gathering card, for instance). These come on sheets that are ready to run through your printer, and you can even get templates that size everything perfectly.
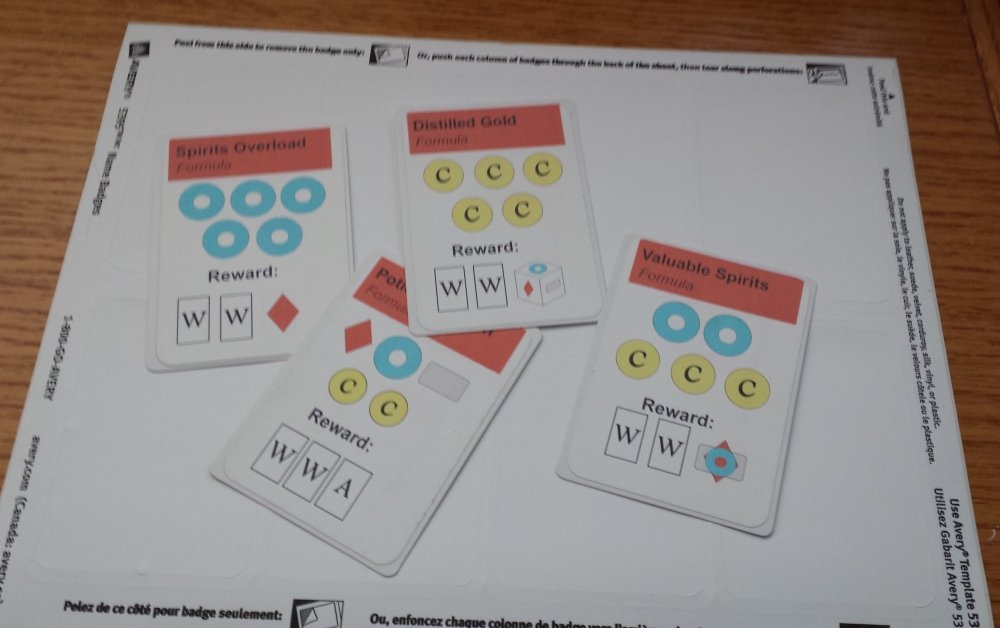
Old Alchemy Bazaar prototypes made with stickers
There are two problems with this approach, though. The first is cost: Each sticker will run you about 8 cents apiece based on the current Amazon price of $32 for a box of 400 labels (50 sheets, 8 labels to a sheet). That doesn’t even count the cost of ink to print on these cards.
Since I was using blank white cards from the Game Crafter (about 2 cents apiece when I bought them; looks like they’re 2.5 cents now), I wanted to print directly onto the cards. I couldn’t find anywhere that taught me how to do this, so I figured it out for myself. Now I’m teaching you.
Step 1: Create the file you’re going to print
Real designers will use things like PhotoShop and InDesign to make nice-looking cards. I do have an old version of PhotoShop Elements that I use near the end of this process (as you’ll see), but I like using Paint.NET. It’s a free program and I find it to be very user-friendly and flexible.
My template basically consists of a 3 by 3 grid layer to guide my positioning of the cards beneath. The file is at 150 ppi (so, not professional print quality, but plenty good for prototyping), and it’s 10 inches tall by 7.2 inches wide. This means that each card is 2.38 inches by 3.31 inches. I’ve found this to be a good size for cards that I want to drop into sleeves with Magic cards. However, I want them bigger when it comes to printing on the actual physical blank cards.
Grid to overlay card designs for prototyping
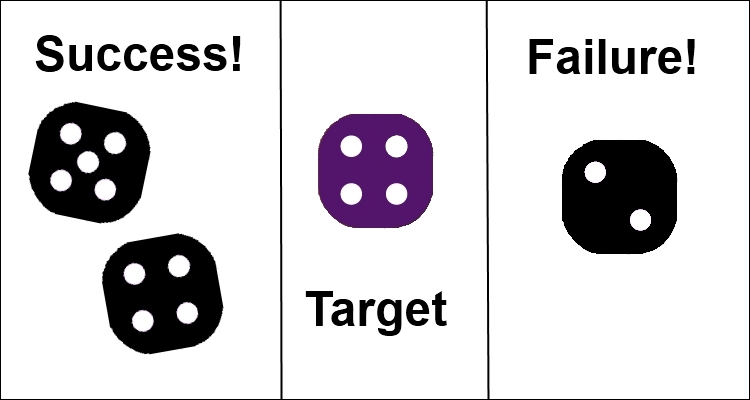
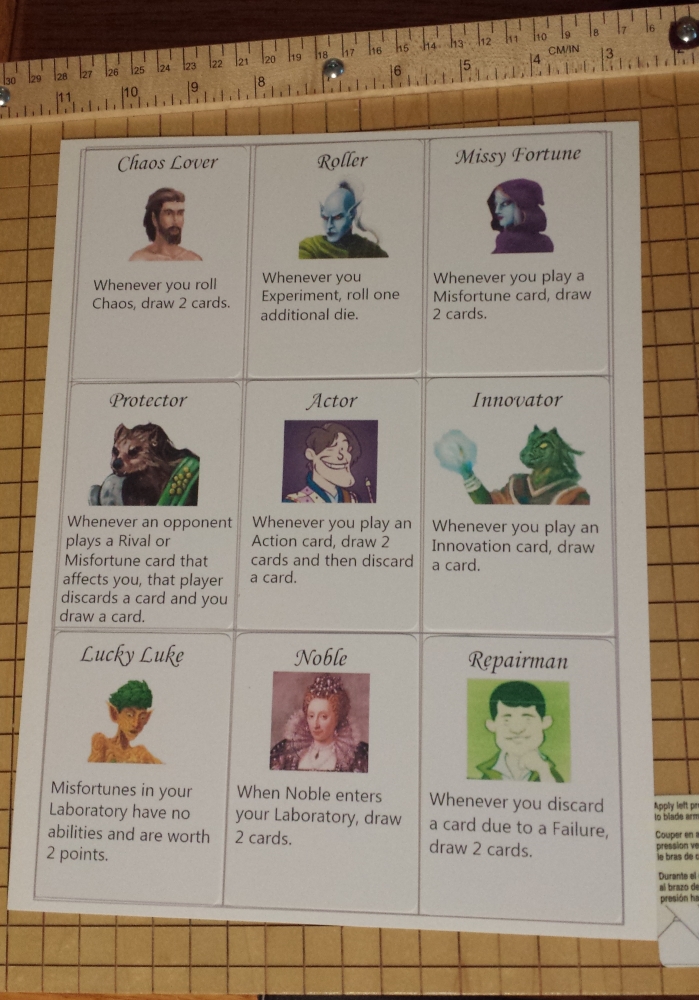
From there, I manually create cards by typing in text, coloring backgrounds, adding picture, etc. Here’s a sample page from the Apprentices mini-expansion for Chaos & Alchemy that I’m currently prototyping.
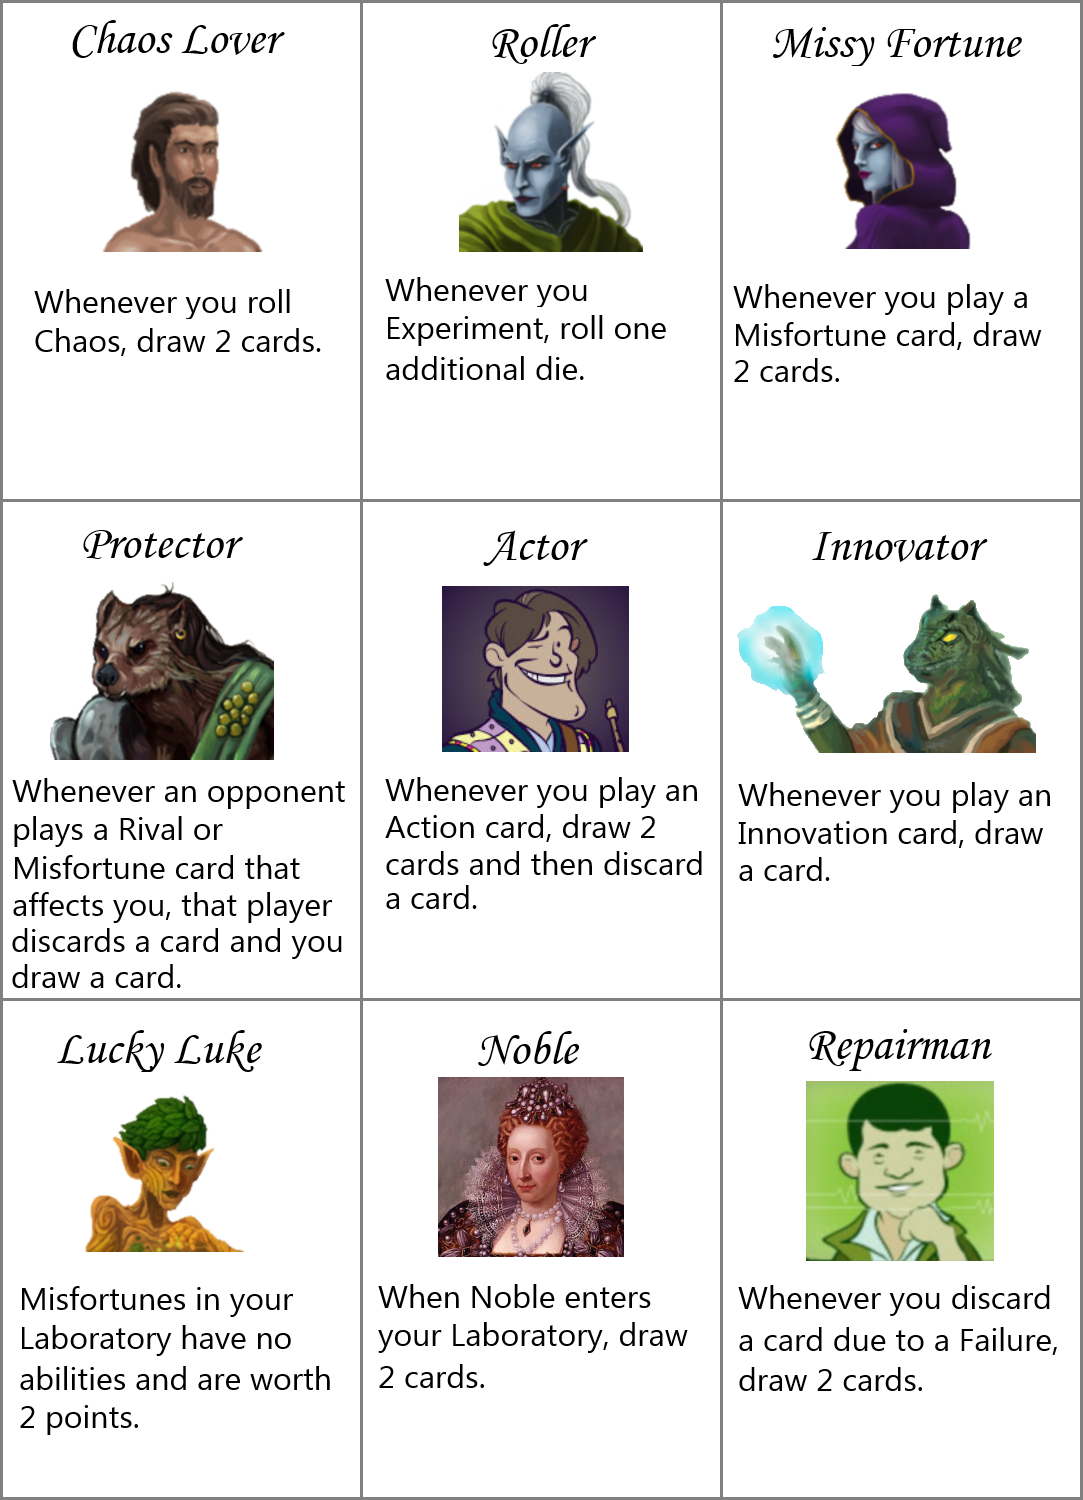
Sample cards for Chaos & Alchemy – Apprentices
Now, the one thing I don’t love about Paint.NET is that I have a terrible time trying to print from it. Thus, I copy the merged image from Paint.NET into Adobe PhotoShop Elements and save it as a PDF. That’s what I’m going to print.
Also, to get a clean printout without grid lines, I want to save a version of my cards without grid lines (just hide the grid layer in your file).

Same as above, but with the grid lines turned off
PDF of the cards WITHOUT the grid
Step 2: Print a template on card stock
So far when I’ve done this step, I’ve printed the actual full image with the words and pictures and everything, but I’ve since realized that I could instead just print the grid.
As I mentioned, I’ve sized this file so that it works if I want to print on regular paper, cut it up, and drop it into sleeves with Magic cards. But if I’m printing directly onto full-size poker cards, I want the image to be bigger.
Fortunately, I’ve found that if I just tell my printer to use the “Fit” option when printing from Adobe Acrobat Reader rather than the “Actual Size” option, things work perfectly.
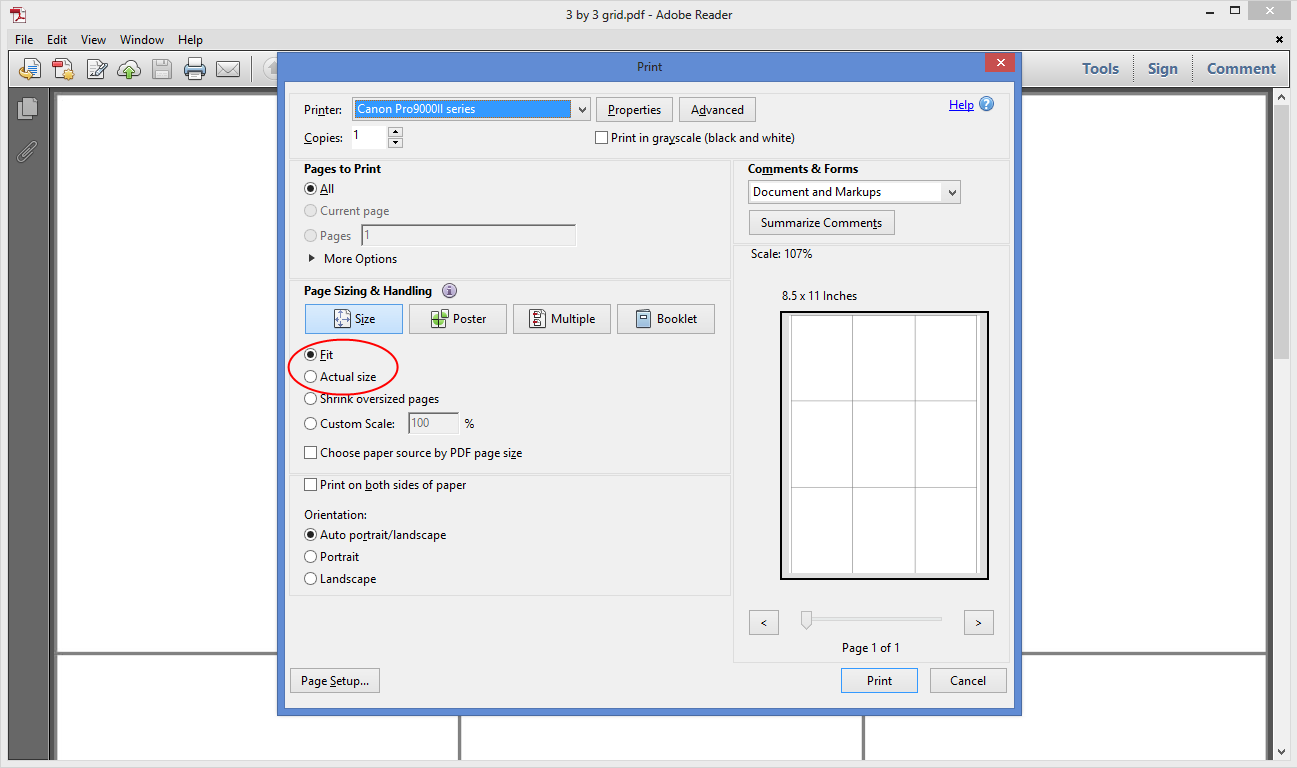
Note that the Fit option is selected, not Actual Size
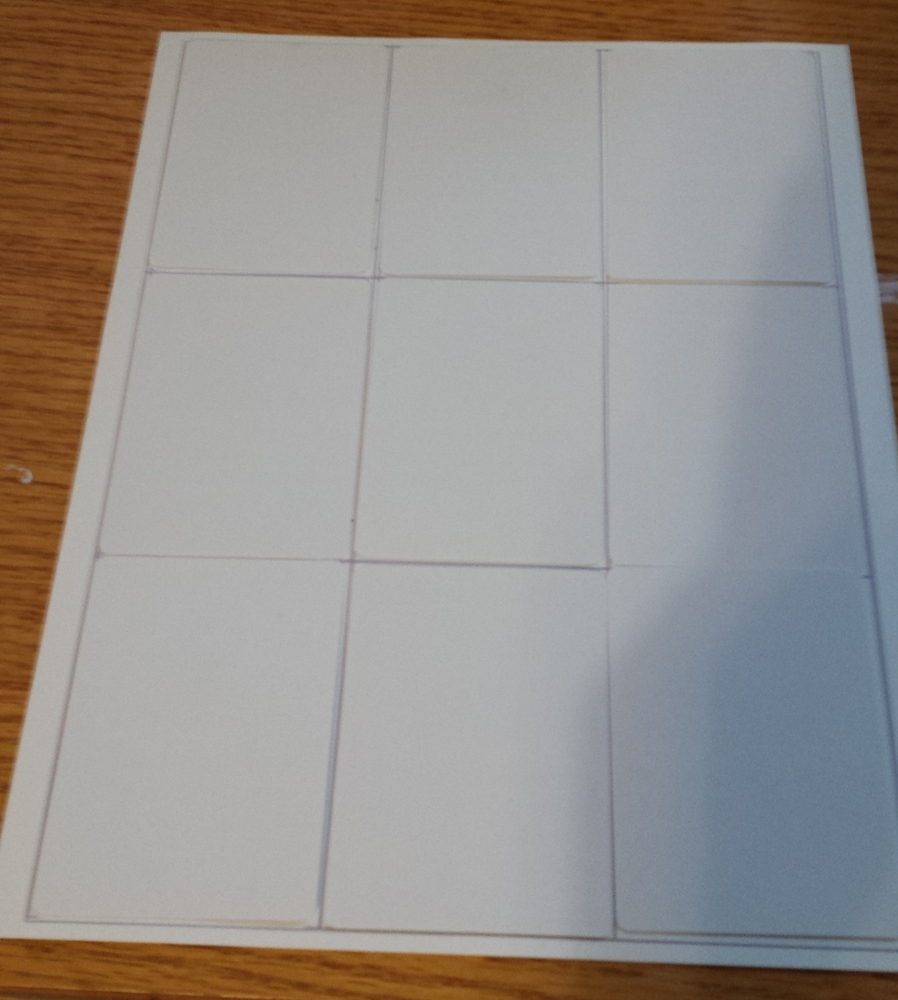
This leaves me with a piece of card stock with a blank grid on it. I made a little note to remember which side is the top; that’s the side that goes through my printer first (it’s more or less symmetrical, but better safe than sorry).
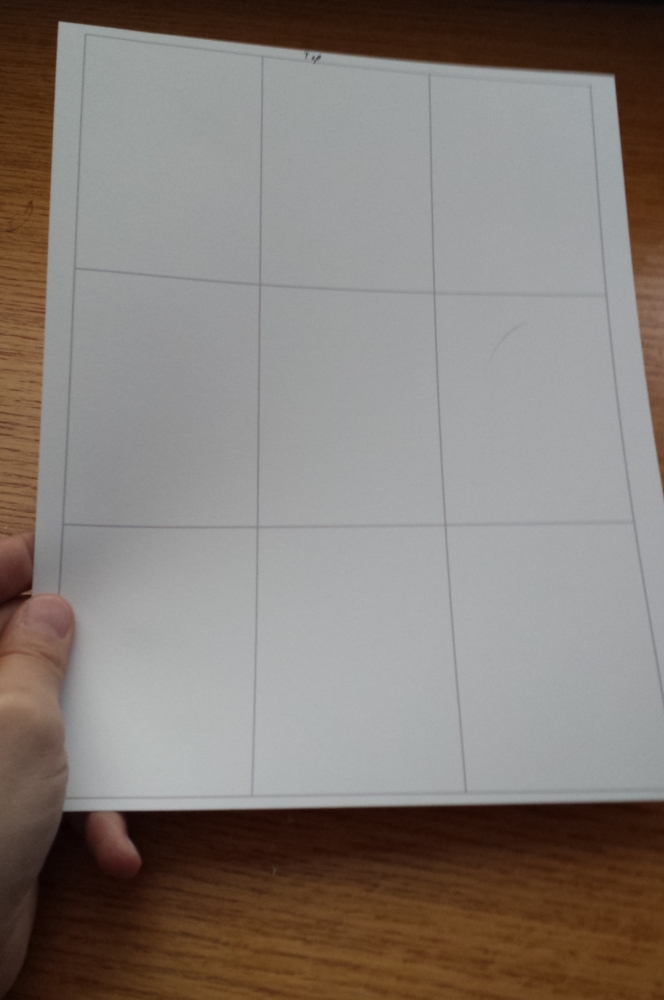
Printed grid, ready for glue
Step 3: Put a dab of 2-way glue in the four corners of each spot on the grid
This was the piece of the process that I struggled to find: Glue that would hold the cards in place on the template as they went through the printer, but would let them go cleanly afterward. I went to a craft store, and someone pointed me toward ZIG Memory System 2-Way Glue (I use the broad tip version).
When you put this glue on your card stock, it will be blue at first. But if you wait a few moments, it will turn clear. The beauty of this type of glue is that when it’s clear, it forms a temporary bond. Perfect!
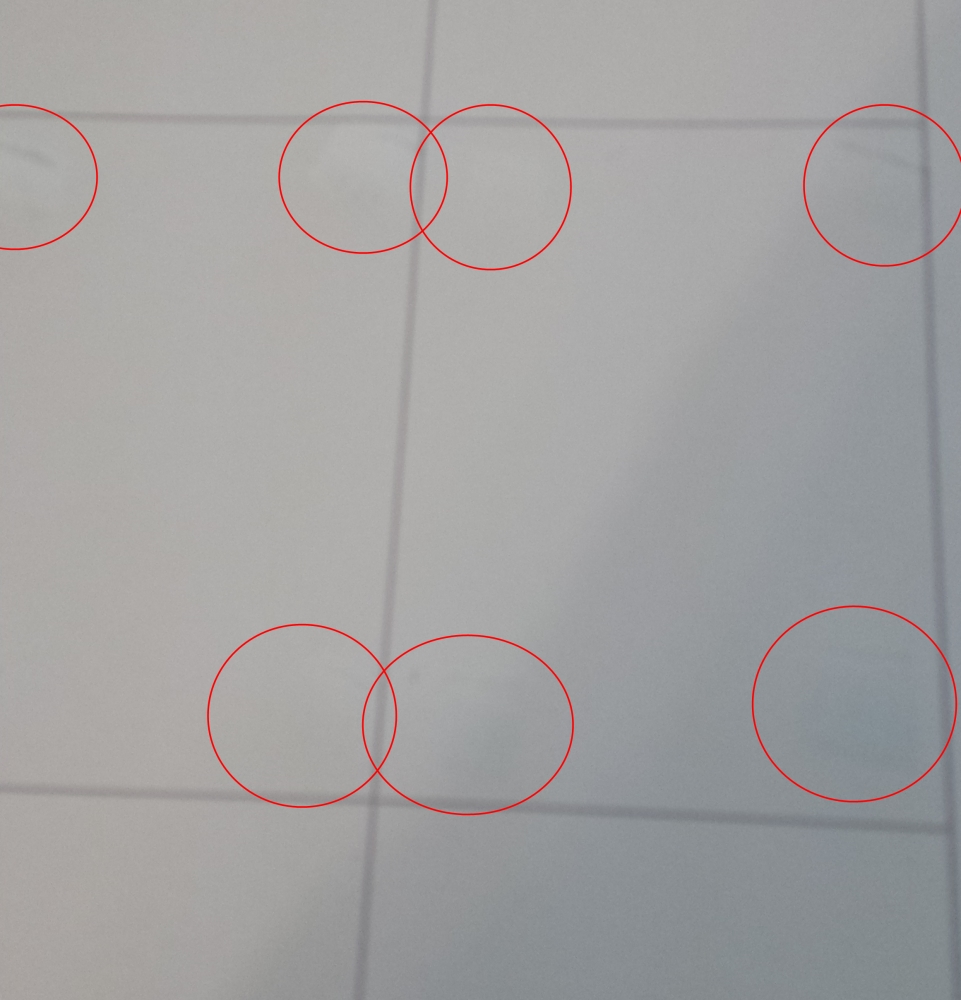
You can barely see the glue spots, so I’ve circled them
I’ll note that when I first tried this stuff, I smeared it all over the template. That turned out to be overkill; a bit in each corner of each card does the trick much more cleanly.
Step 4: Wait for the glue to turn clear, then position your cards on the template
Pretty straightforward. Make sure you press on each corner of each card a little bit so that it will hold.
Ready for printing!
Step 5: Print the no-grid version of your cards – Use the Fit option again
If you’ve positioned everything properly, this should work like a charm.
Tah dah!
Step 6: Peel your finished cards off the template
Make sure you let the ink dry a bit first so that you don’t smudge it
Step 7: Position new cards on the template and repeat
No need for more glue! I’ve done five or six pages of cards in a row without having to worry about reapplying glue. I imagine you could do a lot more than that if you wanted to.
Caveats
First, let me clarify that this is only appropriate later in the development process, when you want some nicer-looking cards than the scraps of paper in sleeves approach.
Second, this is not the only approach. I know some folks will print cards on heavy card stock and then cut them out, even rounding the corners. I’m sure that’s a great approach; I haven’t done it myself.
Third, yes, you only get nine cards at a time this way. It’s still pretty quick to do, but the process is stick blank cards on the grid, print one page, peel the cards off, repeat. If you’re doing 200 cards, it will get old. 50 isn’t bad at all, though. And it’s no slower than stickers.
Fourth, this works best if you’re okay with a white background on your cards. I’ve tried it with borders, and it can work if you’re really careful, but that’s tricky to pull off. With white borders, even if your card is shifted a bit on the template, it’s not a problem.
Fifth, I recommend printing on “draft” or “fast” quality. Blank cards aren’t the same as photo paper, and even on “standard” rather than “high” quality, things can come out a bit muddy. Also, it takes longer for the ink to try if you go above “draft” quality, at least on my printer.
Sixth, I’ve only tried this with a color inkjet printer. I have no idea if this would work on a laser printer.
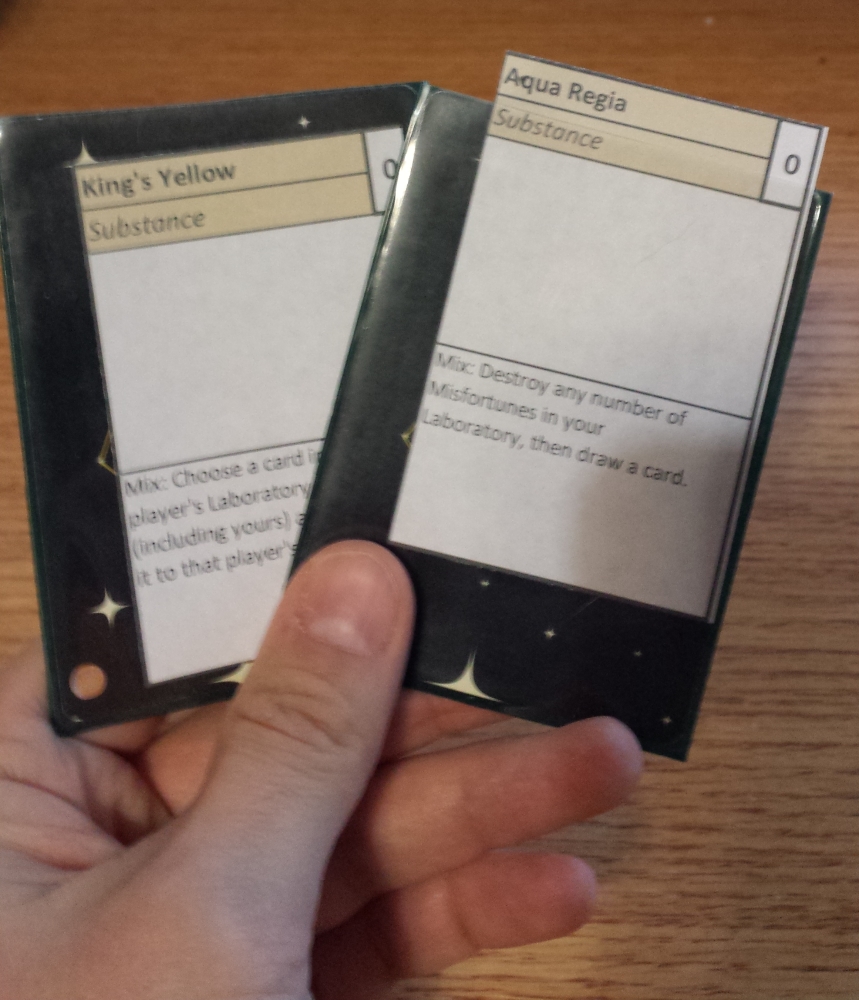
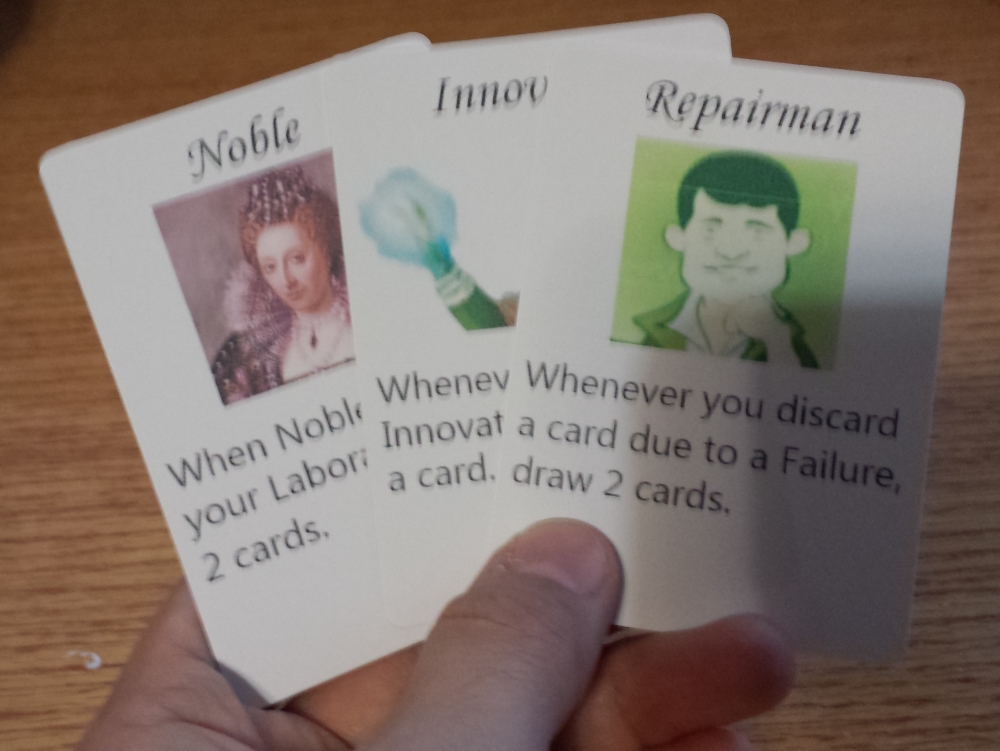
The finished product
In the end, I’m really happy with this approach. With stickers, the extra thickness made the cards a bit weird to shuffle; that doesn’t seem to be the case with this approach. It’s cheaper, and it feels less wasteful.
If anyone else tries this approach to making some nice-looking prototype cards, I’d love to hear about it!

Some sample cards from Otters – along with the star of this show, the glue
P.S. I’m still eager for people to try the print-and-play version of Otters. Download the cards here, and download the rules here!
Michael Iachini – Clay Crucible Games
@ClayCrucible on Twitter