I haven’t posted in a couple of days, but that doesn’t mean I haven’t been working on my online D&D game! Our group is tentatively scheduled to meet online tomorrow (as I post this) for the first time. We plan to try connecting to one another with Gametable and Skype and maybe, if the technology works out okay, try to get some gaming in.
I don’t have much of an audience for this blog (yet), but I could see my players checking it out from time to time. This is interesting because I really want to share the work I’ve done so far, but I don’t want to spoil any surprises for the players. Since it’s unlikely that my friends will be checking this before we play – and because I’m just anxious to share what I’ve learned – some lessons are below.
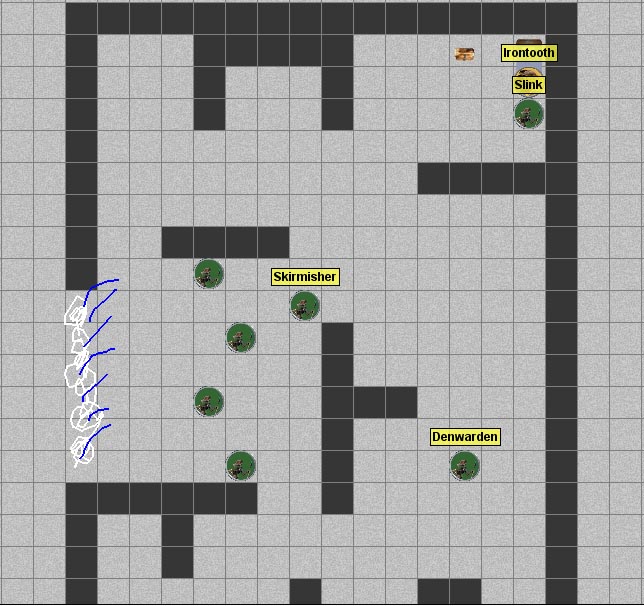
First of all, I should point out that I’m using a published D&D adventure (The Keep on the Shadowfell) for this first game. I’m an inexperienced Dungeon Master, and my more knowledgeable brethren have told me to stick with pre-published adventures, at least at first. This means that I can build maps in advance using Gametable. I’ll jump to the punch line and show you the finished product (at least, finished so far):

My first detailed map in Gametable, ready for adventure!
So, what’s all this? It’s the first five areas of the Keep on the Shadowfell, fully revealed. I used a few pre-packaged items and a whole bunch of items that I’ve created myself, so let me share with you a little bit about what I’ve done.
The basic building block of the dungeon is the dungeon wall. Gametable comes with four walls – short (2 square) and long (4 square) horizontal and vertical walls. These are easy to use for the basic dungeon layout. It also comes with a bunch of pogs – that is, minis to use for characters and monsters. I’ve used their Goblin mini (quite liberally) and one of their character minis (for one of my player characters).


Above are the four dungeon wall graphics that come with Gametable; below are the monster and player pogs I’m using that came with the program:

Goblin

Skeleton

Skeleton Lord

Female character

Male character
Now, if you look at my map graphic, you’ll notice a whole lot of other things on there. Everything aside from the stuff I just listed is something I made – usually using images I found online, but occasionally using my own skills of an artist. My wife Barbara is the one who usually uses Photoshop Elements, but for this project I’ve had to get at least a little bit familiar with the program. (By the way, if you own any of the images I’ve used and would like me to take them down, just let me know).
If you’re going to make graphics using Photoshop Elements for something like Gametable, you’re probably going to want them on a transparent background. That way, if your new item (such as a treasure chest, a table, a stairway, etc.) doesn’t take up every pixel of its square, the pixels around it will match the dungeon background or the other elements you’ve put it on top of. That’s a good thing. The best way I’ve found to get a transparent background is to start with a new file, specifying that you want it to be transparent.

Note that the Transparent box at the bottom is checked
This will give you a file with a gray and white checkerboard background – that’s Photoshop’s indication that the background is transparent. I don’t know of a way to do this in regular old MS Paint, so I’ve migrated to Photoshop Elements.
To turn an image online into a useful Gametable element, start by copying the image into Photoshop Elements. You can do this by simply clicking on the image, dragging it down to Photoshop in your taskbar, waiting for the Photoshop window to open, and then releasing the image inside of Photoshop. For instance, I need to get an image of a zombie (a monster my players will be encountering soon), so I’ll begin by searching for promising images using Google. Here’s one that I like, from a blog called Great White Snark (this is actually a picture of a cake!):


I copied this to my clipboard, then went into Photoshop Elements and selected File – New – Image from clipboard. Now I have the image open in Photoshop exactly as you see it above. I don’t want the whole thing for my zombie mini – specifically, I don’t want the white walls in the background, nor do I want to see the edge of the table that the cake is sitting on. So, I use the Magnetic Lasso tool to highlight just the parts of the image that I want (yes, this can be very painstaking) and then go to Edit – Copy. Now that just the zombie itself is on my clipboard, I create a new blank file with a transparent background as described above and paste my zombie image into that.

Finally, I need to get my zombie image to the size that I want. I described in an earlier post a program called TokenTool that helps you generate pogs like those that come with Gametable – round, with some kind of border encircling them. Those are fine, but I’ve discovered that I actually prefer my minis to be like little statues with transparent backgrounds rather than filled-in circles. This way, if they ever end up on top of each other, you can still see some of the mini that’s hidden behind the other. Also, I try to make them square so that I can anticipate how they’ll look. Finally, I’m starting to feel like I want my minis to be a little bit smaller than the full size of the square, just so that they don’t overlap with the edge of a wall or anything like that.
I’ll start by making the image a square. To do that, I want to pad the canvas size in the horizontal direction so that it matches the vertical direction. I go to Image – Resize – Canvas Size, and I see that my image is currently 333 pixels by 489 pixels. I want some extra space around the mini, so I’ll resize to 525 pixels by 525 pixels (the canvas, remember, not the image), and I’m left with this:

Now all that’s left to do is to shrink this down to the size of a mini for Gametable – 64 by 64 pixels (if it were a large creature, it would be 128 by 128 pixels, and so on for bigger sizes). I go to Image – Resize – Image Size (as opposed to my earlier Canvas Size) and choose 64 by 64 pixels. With that, I have my finished zombie mini (note that Gametable uses PNG files for its images, not JPGs):

To make the other items you see on the map, I used pretty much the same procedure. This includes crates, chests, three different tables, plank bridges and a torture rack, all of which are below:

Crate

Chest

Small table

Tall table

Long table

Plank bridge

Torture Rack
There were a few items that I drew myself in Photoshop. The biggest pain in the butt was actually the stairs, because I wanted them to be open rectangles that showed the dungeon background through them, rather than filled-in rectangles (which Photoshop draws by default). In Paint this is an easy change to make, but in Photoshop it’s a huge pain. I ended up using this article from About.com in order to make the stairs work, but boy, what a hassle! They did turn out looking great, but SO MANY LAYERS! I used a more freehand approach to draw the curtain, which I end up changing within Gametable so that it has a face size of 2 squares (with just 1 square, it sits in the middle of the square – I wanted it to go across the border of the squares). The pillar was easy (just a gray circle), and the prison bars were also simple (a few gray squares copied over a few times – also changed within Gametable to have a 2 square face size). The bed was a little bit trickier – I used the wood from the plank bridge as the headboard and then some rounded rectangles for the bed itself and the pillow. The bedspread needed texture – a flat color looked awful – so I picked one from within Photoshop. I freely admit that my fire pit looks like a pizza – I guess I should have searched for a good image of that online, but oh well! And the iron maiden’s fancy artwork is all me, baby. Yes, I am a crappy artist, but it kind of looks like an overhead view of an iron maiden, doesn’t it? Kind of? A little?

Stairs

Curtain

Pillar

Prison bars

Bed

Fire pit

Iron Maiden
I also created a couple of custom monster and character minis – I’ll probably need to make a few more characters before tomorrow night’s session, for the rest of my players.
With that, I’ll call it a day. I’ve discovered several more features of Gametable, such as how to hide areas and monsters from your players until the players encounter them, but I’ll save those lessons for another day. If you’re running your own games in Gametable or similar software and you’d like to use any of the graphics I’ve created, please feel free – I hope I can save you some trouble!


