Edit September 5, 2014: It appears that sometime in the last 4 years, rptutorials.net has gone away so this post is significantly less useful now. Alas, my apologies.
I’ve talked at length about how much I love MapTool, but it’s important to understand that having the MapTool software itself is only half the battle. You also need images.
MapTool comes with a few images pre-installed, but if you want maximum power and flexibility in creating maps and running games, you’re going to want a larger library of images. This includes images of objects such as tables, stairs, roofs, etc. More importantly, though, it includes textures – dirt, grass, stone, snow, water, fire, wood and many more. With textures, you can easily draw great-looking maps.
So where do you get these images? Why, at rputorials.net! What you’re looking for is a big file with a lot of data – and that means a torrent. No, not some illegal pirated stuff – this is just a big file put together to share for the role-playing game community. The link to that file is here.
Once you have the file downloaded and saved to your MapTool directory (or wherever you like), you’ll need to tell MapTool where to find it. Open MapTool and go to File – Add Resource to Library. Browse to the location of the library on your computer, and voila! You’ve got images!
The folks over at rptutorials.net have put together videos about drawing maps and so on, which I won’t even bother to try to replicate – they’ve done it right the first time! Here instead are just a few basic pointers for creating nice-looking maps in MapTool.
- Start with a new map, picking a good background color or texture. I’ll often pick a grass texture for an outdoor map and either a gray color or stone texture for a dungeon map.
- Click on the Drawing Tools icon and select the Background Layer from the window that pops up. This is important! You don’t want your floors and walls in the same layer as your tokens – the tokens should be on top.
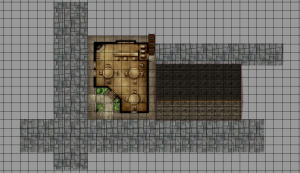
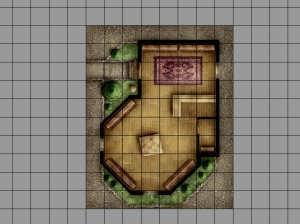
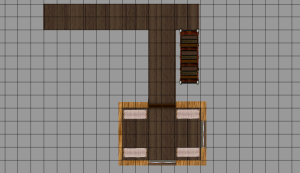
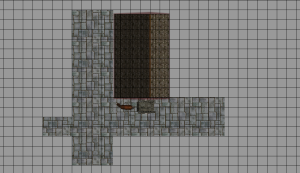
- To make a building, click on the top left box in the drawing window and browse to a stone texture. Click on the top right box and browse to a wood plank texture. Set the line width (the stone) to about 40% of your grid box (I use 20 pixel walls for a 50 pixel grid). Select the rectangle tool from the top menu. Click on a spot, let go, drag out a box, and click again. Poof – it’s a building with stone walls and a wood floor!

- The same process works with irregular filled shapes, too (cavern rooms, lakes, lava pools, pits, etc.). If you don’t want a border (I usually don’t when drawing caves, for instance), left click on the white box with the red slash through it (this will set your border color to “none”). Use the freehand line tool instead of the rectangle tool to draw these.
- To just draw lines, right click on the white box with a red slash through it (that will set your fill color to “none”) and left click on the top left box. Select the line texture you want. Select the line width you want. If you want freehand lines or straight lines, select the appropriate tool from the upper toolbar.
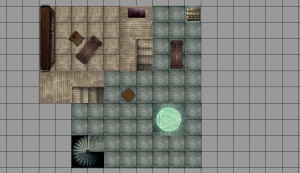
- For objects, go back to the Interaction Tool (the default tool on the upper left toolbar, to the left of Drawing) and select the Object layer. Browse to things like doors, stairs, beds, etc. and drag them onto the map. Resize them by clicking on the box in the lower right corner and dragging.
- Don’t use TOO many objects in maps that people will be accessing online. The more different types of objects you have on your map, the longer it will take to load. Try to draw background objects (such as pits) rather than using an actual object image whenever possible.
- Feel free to add multiple maps to your campaign file and set them as not visible to players, then make them visible as needed during the game session. This seems to help with loading times as well.
That should get you started on the path to creating great maps in MapTool!


