Victory is mine! In my last couple of posts, I’ve talked about the fact that I’m going to be serving as dungeon master for a real-life D&D game at my local game store, Enchanted Grounds, on July 24, 2010. It will be a Living Forgotten Realms game. I don’t own any minis (little statues to represent creatures), so I decided to make my own tokens (little flat representations of creatures) using the guidelines from Newbie DM’s blog.
After a little bit of trial and error, I succeeded terrifically. The steps are as follows:
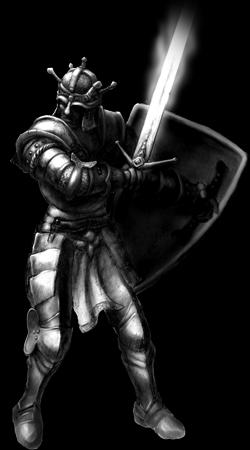
- Find a good image for a token online, such as this one for a paladin:


- Drag the token into PhotoShop
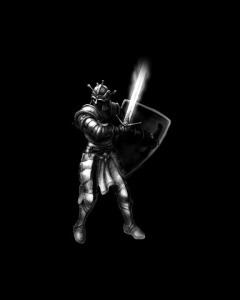
- Resize the canvas in PhotoShop to be way bigger than the current image, and fill the additional background space to match the background that came with the image (I recommend using the eyedropper tool to get the right color and the paint bucket tool for the fill):
- Open up Token Tool and drag this new image from PhotoShop into Token Tool
- Pick a nice border in Token Tool. Also, go with 256 x 256 for the token size
- Resize and re-center the image in Token Tool to look the way you want
- Drag the image from the top right corner of Token Tool into PhotoShop:

- From here, follow the instructions from NewbieDM to copy the token to a new letter-sized image (8.5″ x 11″), duplicating the token image, dragging a bloodied layer over it and making the bloodied layer semi-transparent (note that minions don’t get bloodied, so minion tokens don’t need a bloodied image – you can put one minion on one side of a token and another minion on the other side)
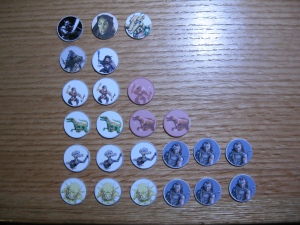
- Rinse and repeat until you have a whole sheet of these tokens:
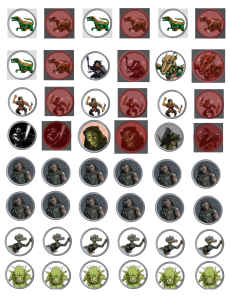
Play around with the size a little bit; I found that you actually want them to be a bit bigger than 1″ across, even though the ultimate size you’ll be punching out is 1″. I like to have no border on my physical tokens – I like them to take up the whole 1″ circle if possible. You’ll want to get a 1″ hole punch (I paid $10 for one at Michael’s – it’s pretty heavy duty) and a bunch of 1″ fender washers (I paid $8 for a box of 100 at the local hardware store) and a glue stick. Below you can see my first pass at the paladin token (when I was aiming for 1″ exactly) and my second pass (when I went bigger) – the second looks way, way cooler.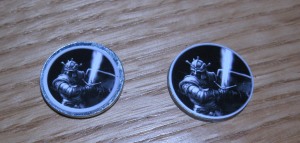
The overall result was awesome, in my humble opinion. I made tokens for the paladin I play in LFR games (Rhogar), the Avenger I’m playing in my in-person game (Kern), Barbara’s dragonborn Runepriest (Zaaria), and the enemies I’ll need for the LFR module. These include a wererat, a gnome arcanist, some gnome skulks, some guard drakes, and a whole bunch of human bandits (generally minions). On the back of the bandits I put goblins and kobolds (common minions, I think).
I’m really happy with the way these turned out. I now have all of the minis that I need for my LFR game, and the maps that I shared yesterday ended up working out great when I used PosteRazor to print them out (I’ve just printed them in black and white for now as a proof of concept, but I know they’ll be fine in color, too). I’m feeling good about this!
I’ll make the individual token files that I created available on the Downloads page of my blog, too, so you can get them all one by one.

Looks like a really good alternative for miniatures, much cheaper I bet.
Perhaps you can add magnets under the tokens, place a magnetic plate under the dungeon sheet so your playing field is shockfree!
Just a thought
When I was using these, they never seemed to get jostled when the table would be bumped. They’re pretty solidly on there – solid as minis, I’d say.
I’ve since moved on to using a projector, so no more physical tokens, but if I were using physical tokens again I’d go with the metal washer approach with no hesitation.
Thanks for the comment!