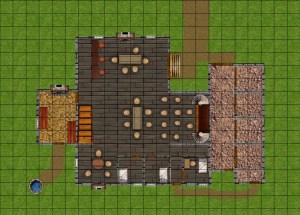
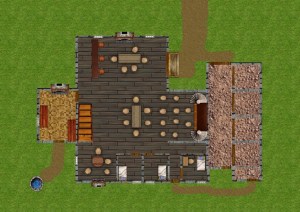
One of my few complaints about MapTool is that you can’t really export a map from one campaign to another. You can duplicate a map within a campaign, but there’s no good way to get it into another campaign. Also, if you want to create maps to share with other virtual table top users, it’s nice if you can have them pre-formatted to a certain size.
Thanks to a useful video and message board post from Eugene of the Fantasy Grounds forums (as well as from EN World), I learned a straightforward way to take maps that I’ve created in MapTool and turn them into JPGs both with and without grids so that they can be easily used by others and by myself in other campaigns.
0. Open up MapTool, Paint.NET, and this Excel tool (or a calculator).
1. In MapTool, center your screen on the map you want to export.
2. Choose the Measure Distance Along Path tool. This has two useful purposes: It makes the Layer window disappear, and it lets you count the number of squares on your map (this will be useful later).
3. Make your MapTool window full-screen by hitting CTRL + ALT + ENTER
4. Zoom in as far as you can without losing any of your map.
5. Hit the Print Screen key.
6. Alt Tab over to Paint.net and choose Edit – Paste Into New Image
7. Alt Tab back to MapTool, hit CTRL +G to make the grid go away, and hit Print Screen. Then Alt Tab back to Paint.net and again choose Edit – Paste Into New Image (you’ll have two separate image files in Paint.net – one with the grid and one without).
8. In the Paint.net image file with the grid, choose the Rectangle Select tool, zoom in pretty far, and scroll to the far left side of the map. Click (and hold) on the vertical grid line on the left side of the farthest-left complete square.
9. Drag the mouse all the way over to the right edge of the map, selecting all the way until you get to the vertical grid line on the right side of the farthest-right complete square. Release the mouse having selected right up until (but not counting) that rightmost grid line.
10. Look at the bottom of the screen and note the horizontal dimension (the first number) of the Bounding Rectangle Size. Look to the right of that at the bottom of the screen (not ALL the way to the right, as that’s the current X/Y position of the cursor) and note the horizontal dimension of the total image size.![]()
11. Alt Tab back to MapTool and hit CTRL+G to turn the grid back on. Using the Measure Distance Along Path tool that is currently active, click and drag along a row to count the number of complete squares on the screen. You’ll need to add 1 to the running total (since the first square counts as zero).
12. In the Excel file, enter the first number you noted in Paint.net in the Selected Pixels box, the number of squares you got out of MapTool in the Selected Squares box, and the second number you got out of Paint.net in the Total Image Size box. The big number at the bottom tells you the new image size you’re looking for. The formula is:
New Image Size = Total Image Size * Number of squares selected * Desired grid size / Selected pixels
OR
New Image Size = Total Image Size * 50 / (current number of pixels per square)

13. In Paint.net, go to the gridded image and choose Image – Resize. Enter the New Image Size in the Width box (making sure the Maintain Aspect Ratio box is checked) and click OK. The image will resize.
14. Crop the image as you wish, then save it as a JPG file in a directory that you’ve taught MapTool to look for.
15. Repeat 13 and 14 for the gridless image file (the new dimension will be the same as for the gridded file).


